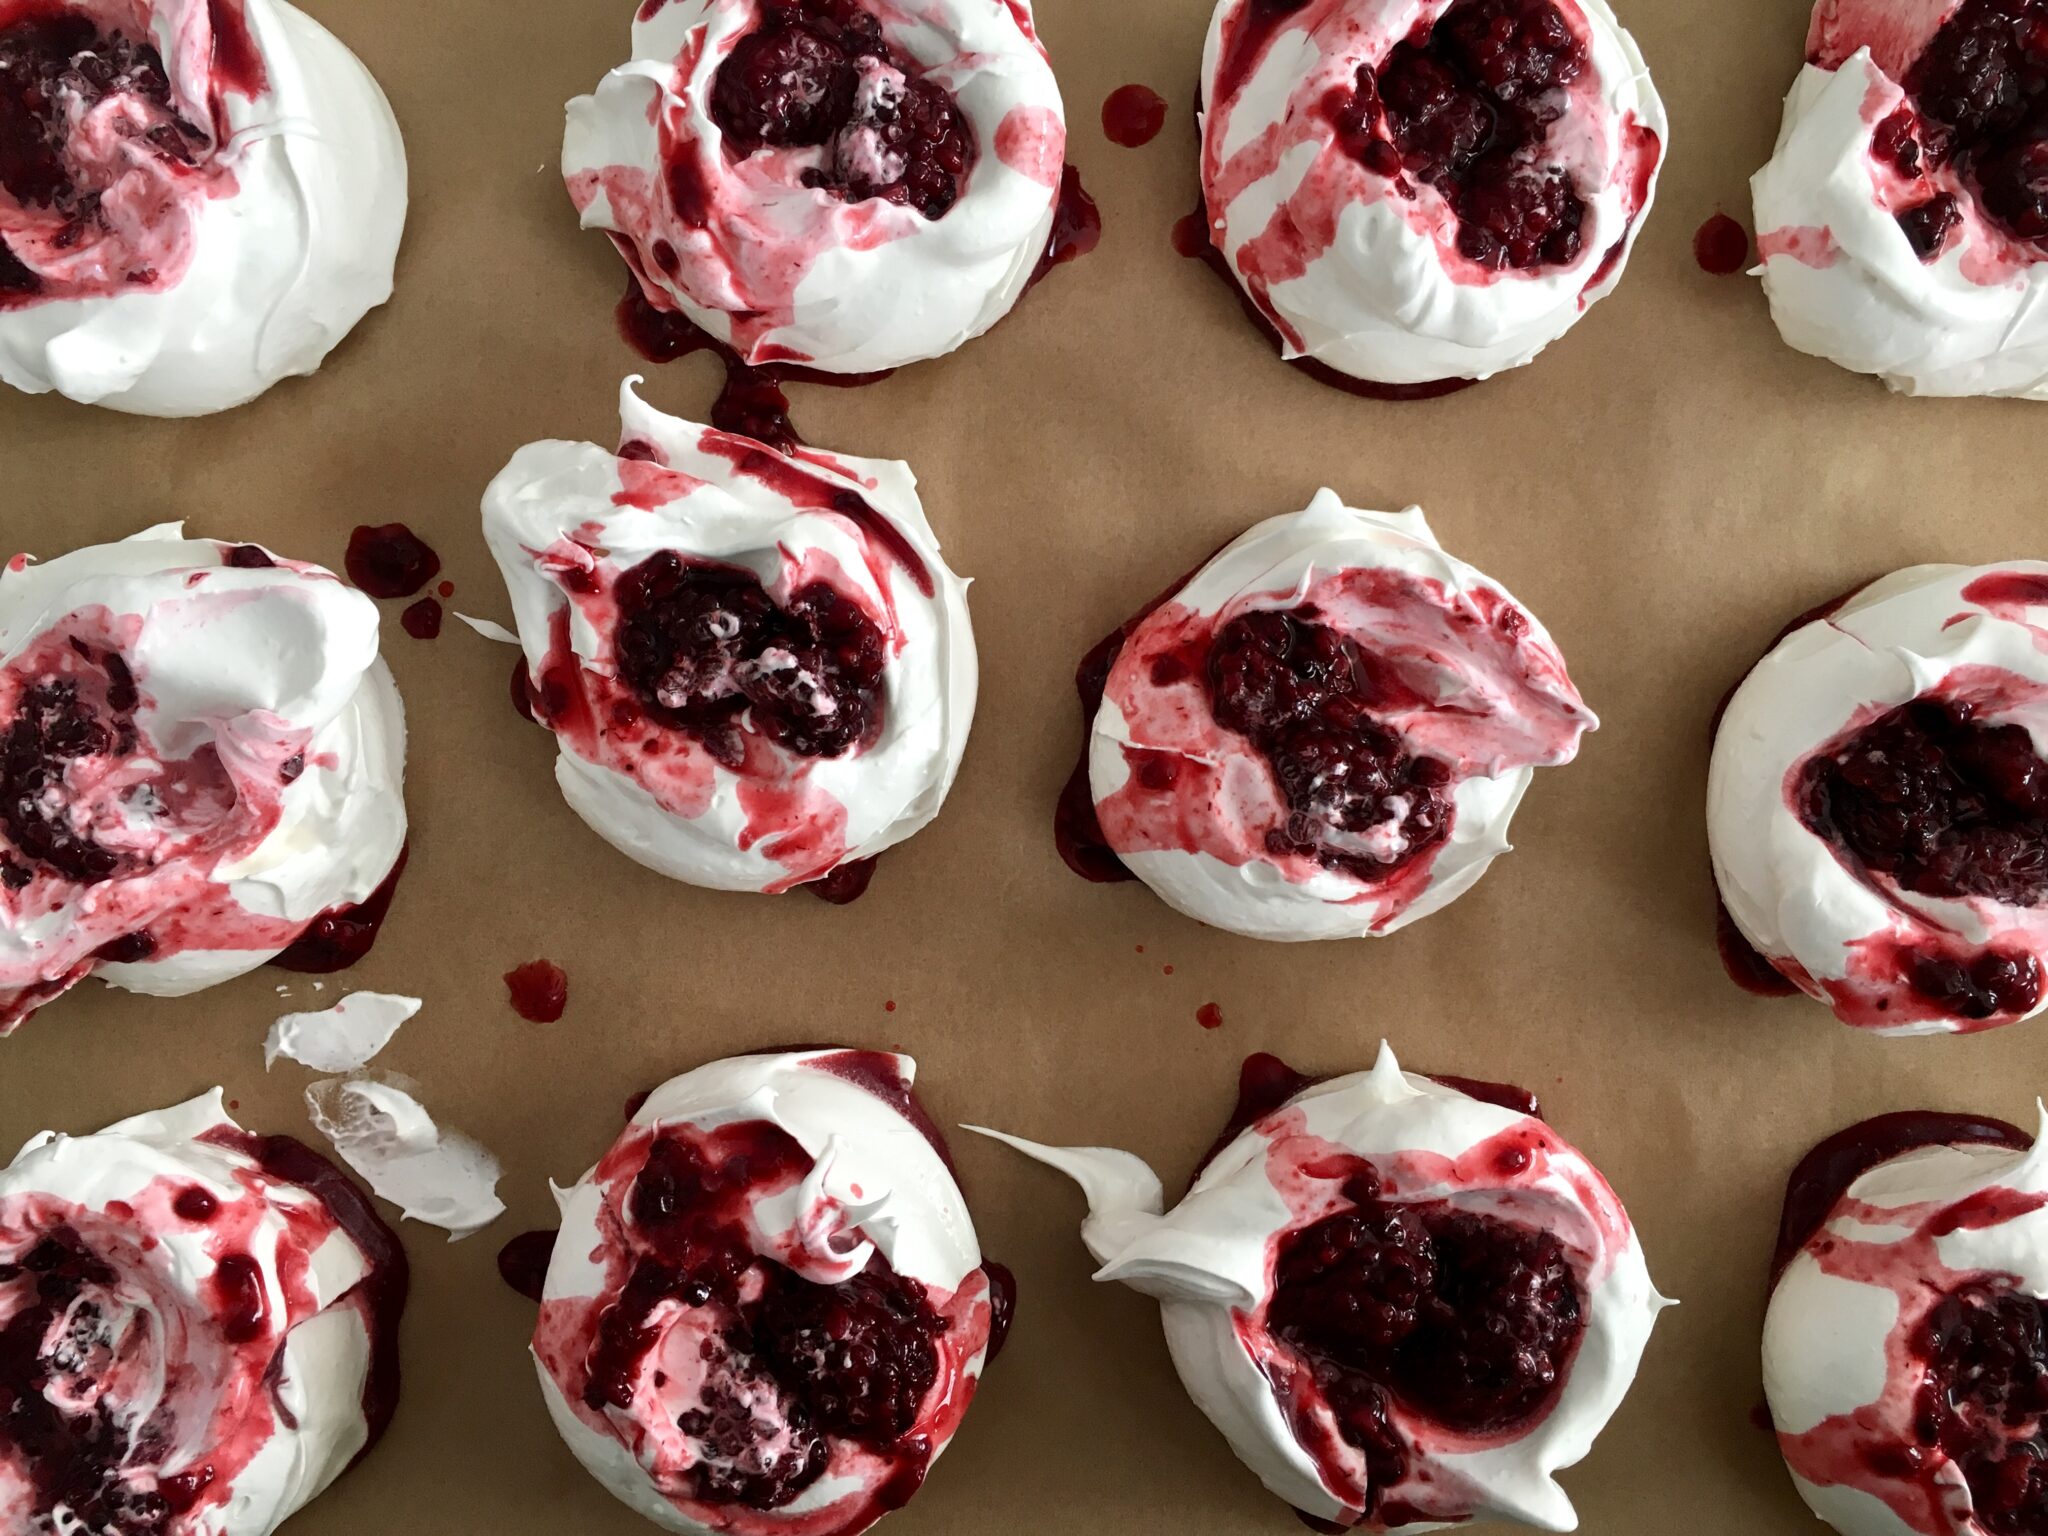
I love meringue for its diversity. You can make them into virtually any flavor. They are amazing bite sized and the size of your head. You can make them into giant layers and turn into a layer cake. You can fill them, top them, use them as garnish. When it doubt, meringue. This is my basic recipe for baked meringues. I had a bit of blackberry fridge preserves stored, so I decided to swirl that onto the tops. With a bit of lavender sugar sprinkled on top, I call that a beautiful dessert. Here, I made them into “clouds” which I have been making at my bakery for years (believe it or not, they were twice the size at the bakery!). You can also pipe them into any shape imaginable – mini kisses or large rosettes. After they bake, you can dip them in chocolate, or splatter them with natural food coloring – meringues are a blank canvas. Look around your kitchen and take inspiration from what you have on hand – it’s always a beautiful result!
MERINGUE CLOUDS
Recipe: Candice Hunsinger
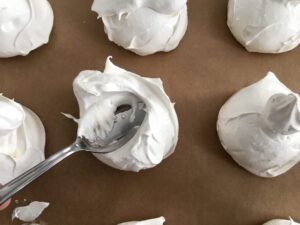
Makes: 12 large meringues – I used the largest ice cream scoop I had – about 3/4 cups worth. You can certainly scoop them out with a large spoon and pile it onto the pan, which is my favorite rustic appearance.
Ingredients
6 large Egg Whites, room temperature
1 1/2 c. Granulated Sugar
1/4 tsp Himalayan Pink Salt
1 tsp Lemon Juice (or 1/2 tsp organic cream of tartar)
1 tsp tsp Vanilla Extract (or you can use almond, or lavender, or bourbon, Instant Espresso Powder, any favorite flavor)
1/2 c. mix-ins (easy fridge preserves, finely chopped nuts, chopped chocolate chips, pureed fruit – anything you like!)

PROCESS
Preheat Oven to 250 degrees.
Line 15″ x 11″ half sheet tray with parchment paper.
- Thoroughly clean your stand mixer bowl and whisk attachment and wipe bone dry. Same if you are using a hand mixer.
- Place egg whites into bowl and mix on medium until frothy, about 2-3 minutes – doubled in volume and not much wet liquid at the bottom. It will appear as bubble foam.
- Turn mixer to medium-high and slowly drizzle in the sugar. You want a slow and steady stream.
- Add the salt, lemon juice (or cream of tartar – both help stabilize the meringue from weeping after being mixed) and vanilla extract (or other flavoring).
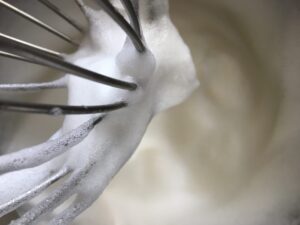
- Turn mixer to high and let whisk about 4-5 minutes until the meringue is smooth and glossy and just about stiff peaks (see the photo). You don’t want it to mix too long or it will be dry – when you dip the whisk in the bowl and turn it to stand up, the peaks will just barely fold over. That’s perfect.
- You have two options here: very gently fold in the mix-ins into the mixing bowl (which I almost always do – this works especially well with food coloring or pureed fruit, nuts and chocolate chips). Or, scoop the meringues onto the tray first and then make a pool in the center to add in your toppings – like I did here with the preserves. I love a good rustic swooshing of whatever flavors I am adding, just look at it as art – no two are the same. When spooning a berry or liquid like mixture into the center, like I did here, you will end up with molten caved in centers – I love this! It gives you a bit of a soft chewy center. When swirled throughout, it will dry out and the entire meringue will be crisp with a slight chew.
- Place cookie sheet into over and set timer for 2 hours. You get to walk away! However, baking time will depend on the size – if you pipe mini meringues, start with 60 minutes. The goal is for the meringue to be set enough that it easily lifts off of the parchment paper.
- When timer goes off, turn the oven off, slightly crack the oven door open and set the timer for another 60 minutes, allowing the meringue to gradually cool in the oven.
- Let the meringue sit out, uncovered, to dry overnight. But that certainly hasn’t stopped me from cracking into one sooner. Just be sure they dry uncovered before you place to store them.
STORAGE: Meringue stores very well for about 2 weeks in an airtight container.
