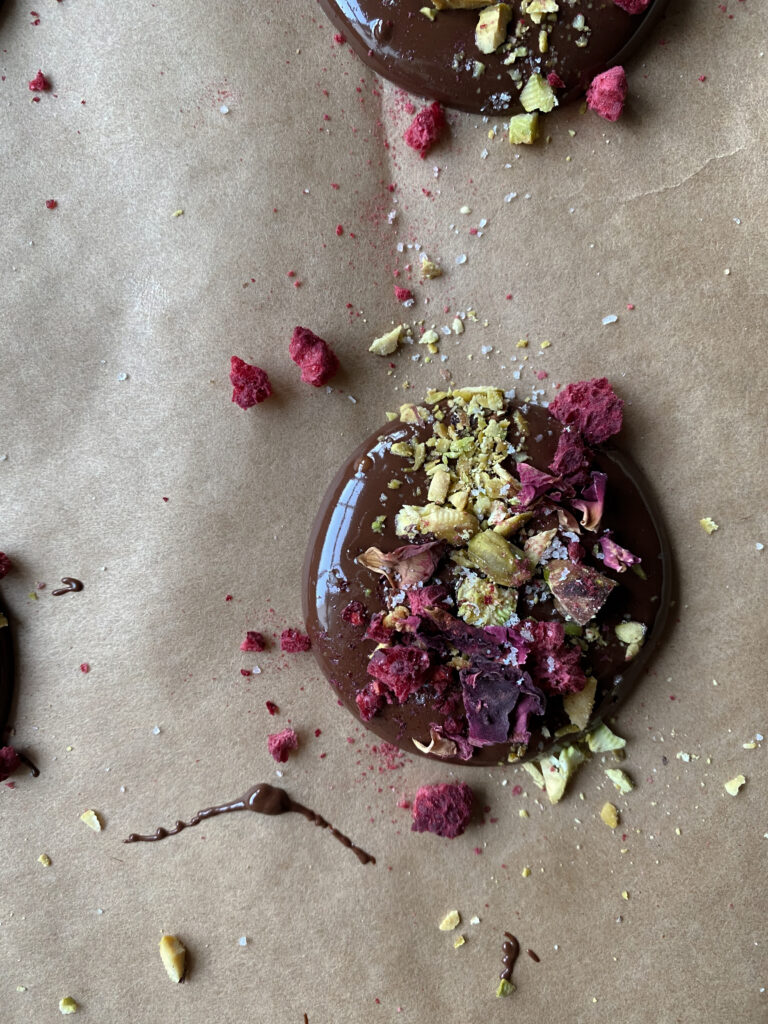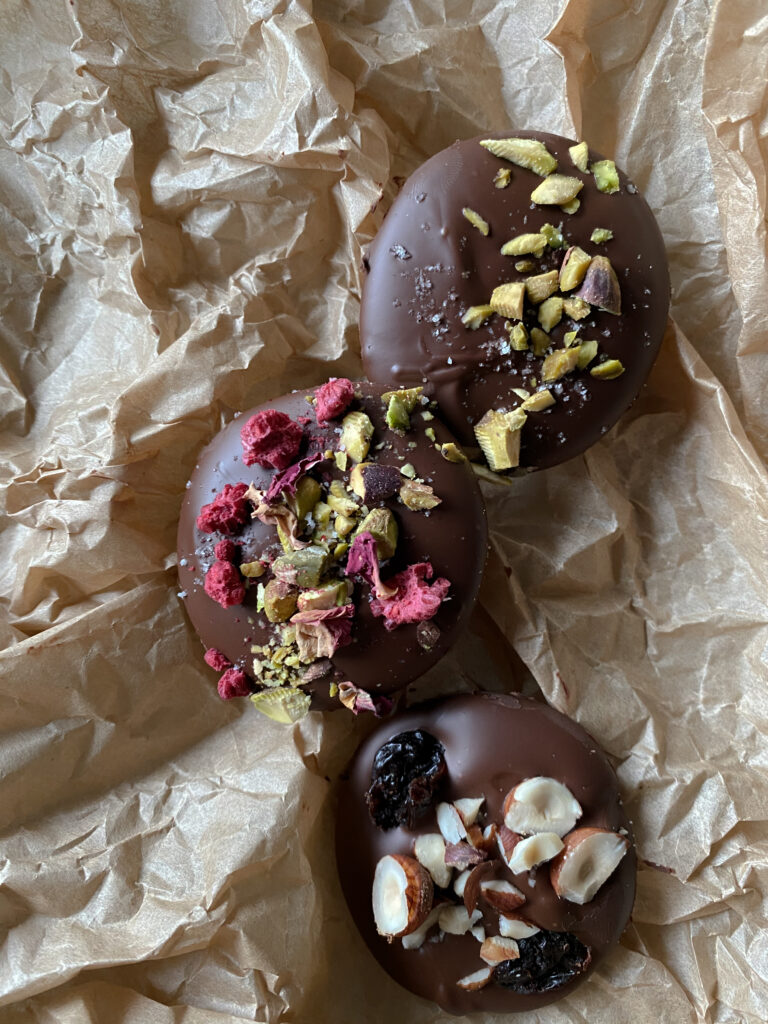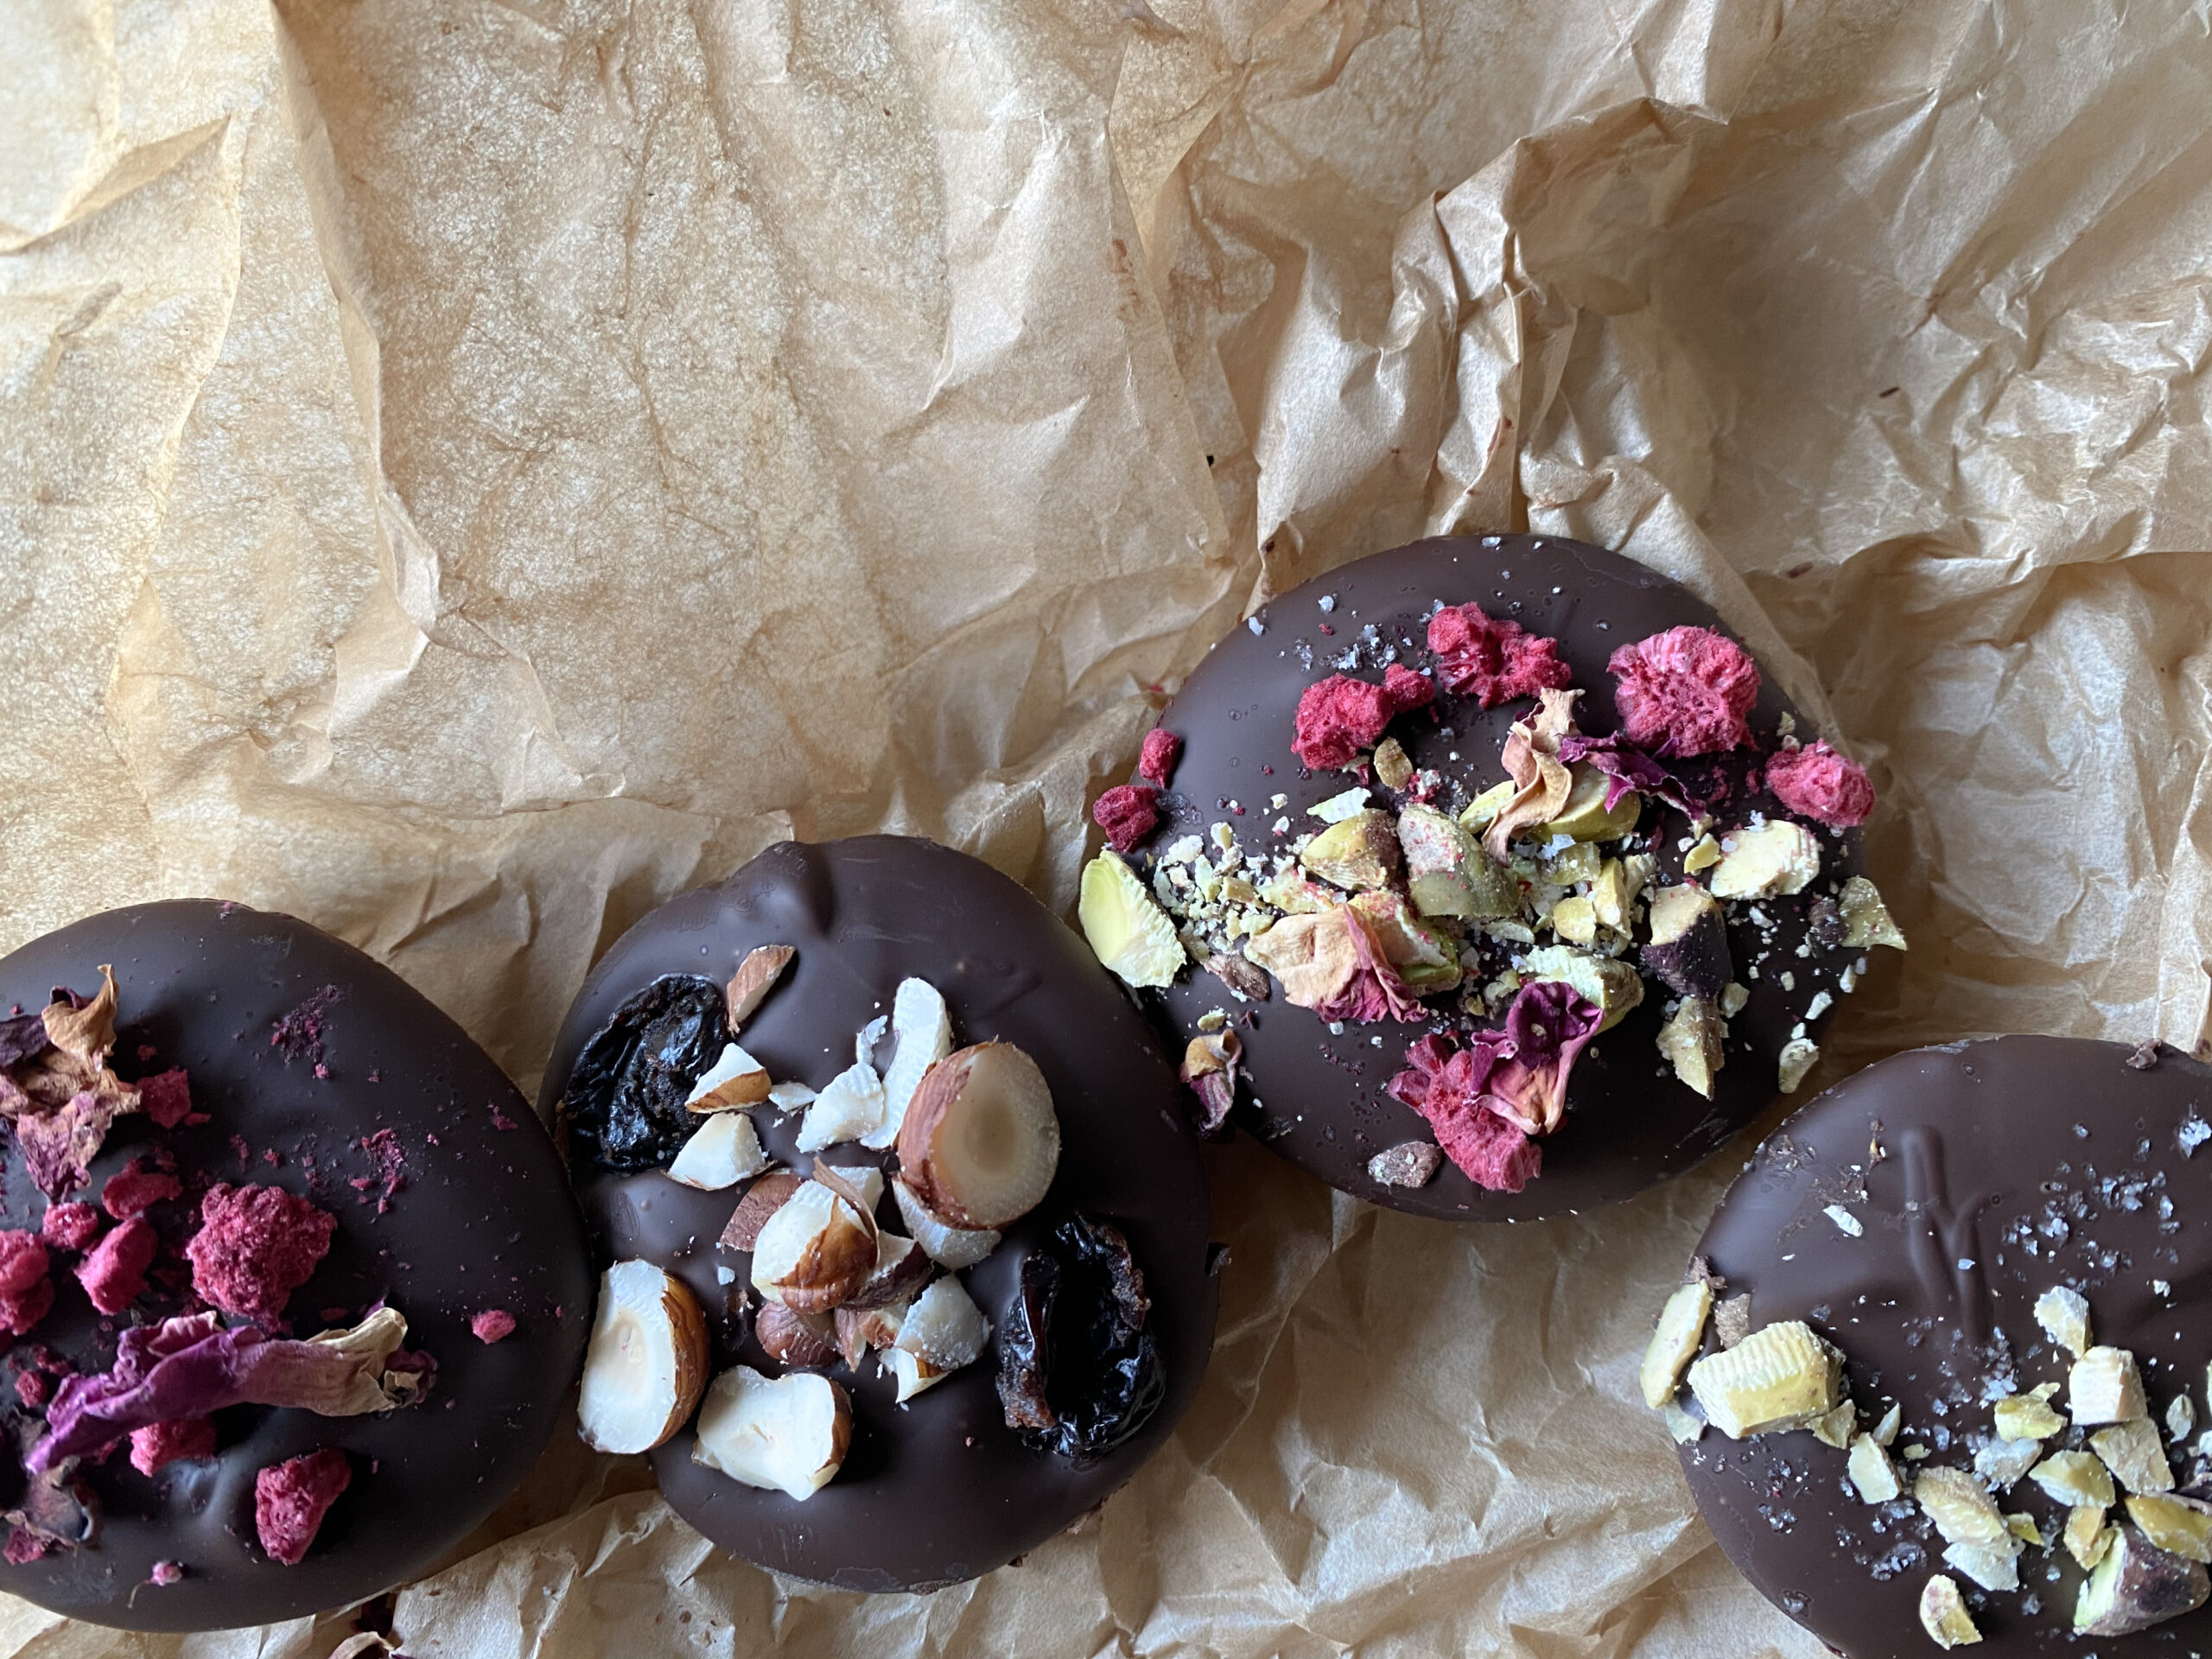
There is almost always a jar of these gorgeous little chocolates on my counter. They are perfect to have on hand when that chocolate craving hits, easy to make with leftover chocolate from other bakes and are so dead simple yet impressive. Unlimited topping options that make the most beautiful little treats for gifting. Traditionally made free-form, but have fun with any silicone molds/shapes you may have. This is a great project for kids – a lesson in passion and detail that results in perfection.
DO NOT BE AFRAID OF A CANDY THERMOMETER or tempering chocolate! It really is no big deal as long as you follow the numbers. It happens quicker than it sounds, so be sure to read through before beginning, and do not step away. Below is how I temper over a double boiler (anyone else not own a microwave like me?). A digital thermometer is great here, but a standard candy thermometer is just fine.
INGREDIENTS
1 lb (16 oz) best quality Dark Chocolate, roughly chopped
*Feves, or discs, are best for this. You can also use baking bars, like Trader Joe’s Pound Plus.
Do NOT use chocolate chips or candy melts – they have stabilizers in them to avoid proper smooth melting and tempering.
Assorted Toppings, roughly chopped – see below! You will need about 2 TBS each of your topping choices.
TEMPER CHOCOLATE
Tempered chocolate dries quickly and becomes shiny and crisp. If your chocolates have become dull or streaky with white lines, you have not achieved temper properly. Allow the chocolate to cool and start from the beginning.
This recipe is written for dark chocolate – milk and white chocolate temperatures are as follows but the same method applies…
MILK/WHITE CHOCOLATE
Melt to 105 degrees
Cool to 82 degrees
Reheat to 86 degrees
DARK CHOCOLATE
Melt to 115 degrees
Cool to 82 degrees
Reheat to 89 degrees
HOW TO TEMPER CHOCOLATE
1. Place two-thirds or about 10 ounces of the chopped chocolate in a glass or metal bowl, atop a heavy duty medium sized pot filled halfway with water to create a double boiler. Just the bottom of the bowl should sit slightly in the pot.
2. Over low heat, allow the water to come to a simmer, but never bubbling or touching the bottom of the bowl.
3. Once the chocolate starts to melt, stir, with a silicone spatula, occasionally and place the candy thermometer in the bowl, making sure it does not touch the glass or metal bowl – simply submerged in the chocolate.
4. Melt the chocolate until it reaches 115 degrees, never exceeding 120 degrees. Once it reaches temperature, remove the bowl from the heat, and place onto a dish towel.
5. Stir in half of the remaining chocolate and let sit for 30 seconds before stirring fully to incorporate.
6. Stir in the last of the chocolate and allow to sit for 30 seconds, then stir in fully. Allow the chocolate to cool to 82 degrees, stirring every 30 seconds.
7. Once the chocolate has cooled to no less than 82 degrees, place it back over the simmering water. Warm to 89 degrees, stirring constantly – this happens VERY quickly, so do not step away.
8. The chocolate should now be in temper. If the chocolate falls below or above 88 to 91 degrees at any point while in use, you will need to warm it back up for a 5-10 seconds over the double boiler, stirring constantly, until you have reached temper/89 degrees again.
MENDIANT INSTRUCTIONS
Makes approx 18 – 2″ mendiants
1. Line two baking sheets with parchment or wax paper.
2. Once the chocolate is tempered, set on a dish towel next to the first baking sheet.
3. Using a small ice cream scoop or teaspoon, scoop the chocolate, wipe the sides with your spatula to remove any trails and pour into a small pool on the lined baking sheet. Steadily pour in one central spot, without moving your hand, allowing the chocolate to spread on it’s own – you do not want to to shape it or circle around, allow the chocolate itself to do the work.
4. Once you have several scoops on the tray – you should be able to get 12 scoops (a 3 x 4 grid) total – place your toppings on, just barely pushing them into the chocolate. I am able to scoop an entire tray before placing the toppings, but if you feel scooping is taking time for you, stop halfway and place the toppings on before the chocolate sets and does not allow the toppings to adhere.
This is the artistic part. I usually prefer an offset placement, leaving some of the beautifully smooth chocolate exposed, but sometimes I love the burst of color to take over. There are no rules here – just do what moves you.
5. Set aside for the chocolate to firm up and set entirely, about an hour, at room temperature – do not refrigerate. Once set, transfer to an airtight jar or clear bags or boxes tied with ribbon for gifting and keep at room temperature.
FLAVOR IDEAS
*Here are a few of my favorites, but go wild with anything you uncover in your pantry!
Rose Petals & Freeze-Dried Raspberries
Pecans & Dried Cherries
Dried Orange, or any citrus & Lavender Buds
Pistachio & Flakey Sea Salt
Almond & Coconut
Toasted Hazelnuts
Freeze-Dried Strawberries & Malt Powder
Peanut Butter (swirl in slightly) & Sea Salt
Pretzels & Dried Apricots

